19 Creative DIY Spring Craft Ideas to Brighten Your Home
Spring is the perfect time to get creative and freshen up your space! Check out these 19 DIY craft ideas that are not only fun but also easy to whip up, allowing you to add a personal touch to your home or gifts. From colorful decorations to practical projects, there’s something here for everyone!
Floral Fabric Garland
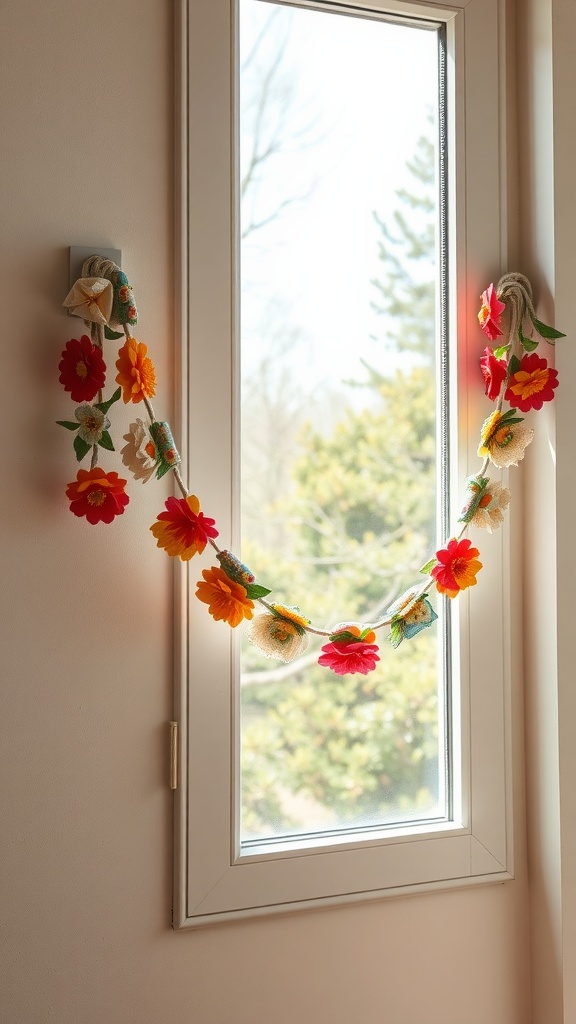
Brighten up your space with a lovely floral fabric garland! This simple decoration adds a cheerful touch to any room. The garland, featuring vibrant flowers, is hung gracefully on a window, letting in natural light. Each flower is crafted with colorful fabric, creating a playful and inviting atmosphere.
Making a floral garland is a fun DIY project. You can use different types of fabric to match your decor. Cut out flower shapes and string them together using twine or ribbon. This is a perfect way to express your creativity and celebrate the beauty of spring.
Try hanging this garland in your living room or bedroom. The colors and patterns will instantly uplift your mood. Plus, it can be a great conversation starter when you have friends over!
Upcycled Mason Jar Lanterns
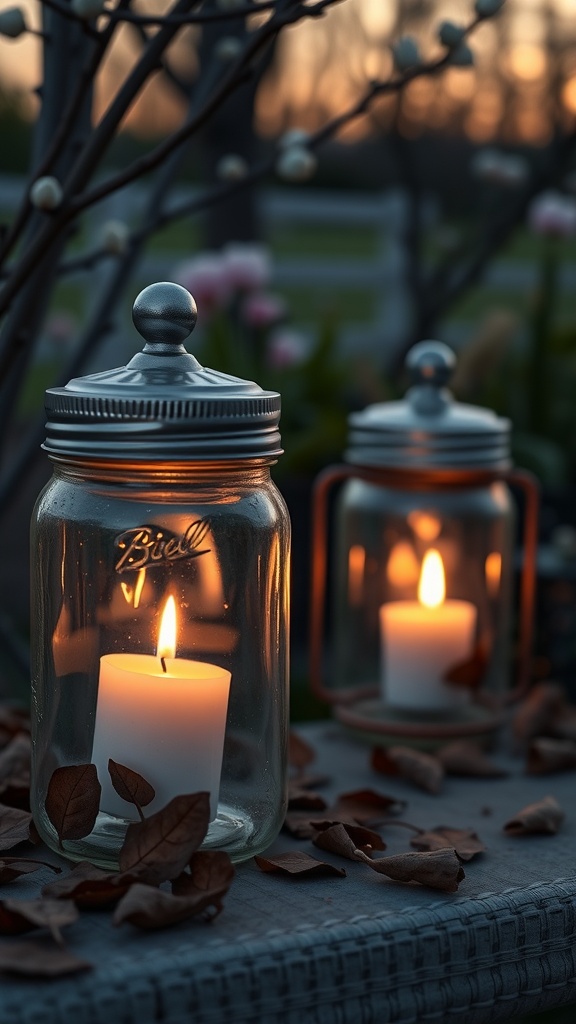
Upcycled Mason Jar Lanterns are a fun and easy way to add charm to your outdoor space. These lanterns create a warm glow, perfect for gatherings or cozy evenings. With just a few materials, you can transform simple jars into beautiful decorations.
To make your own, gather some old Mason jars, tea light candles, and a few decorative items like twine or ribbon. Start by placing a tea light inside each jar. You can decorate the jar’s exterior with twine for a rustic look or paint it to match your decor. The glowing candles will create a lovely atmosphere as the sun sets.
These lanterns not only brighten up your space but are also a great way to repurpose items you might have lying around. Set them on tables, hang them from trees, or line a pathway to create a magical feel. It’s an easy DIY project that anyone can enjoy!
DIY Spring Wreath with Natural Elements
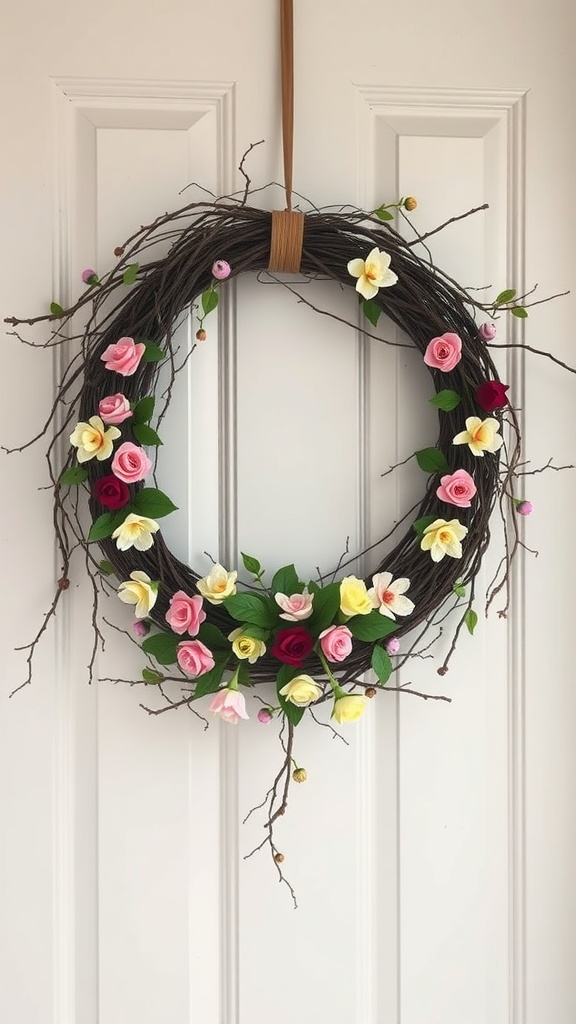
Creating a DIY spring wreath is a great way to welcome the season. The wreath in the image shows a beautiful blend of natural elements, perfect for your front door. It features vibrant roses in shades of pink and yellow, surrounded by delicate leaves and twigs. This arrangement brings a touch of nature to your home.
To make your own wreath, start with a grapevine base. You can find these at craft stores or even make one from natural vines. Next, gather artificial flowers and greenery that match your color palette. Hot glue works wonders for attaching the flowers securely. Don’t forget to add some twigs for that rustic feel!
Once your flowers are arranged, hang your creation on your door with a simple ribbon or hook. This wreath not only looks lovely but also symbolizes new beginnings as everything blooms in spring. Brighten up your space and embrace the beauty of nature with this fun project!
Bunny-Themed Spring Table Centerpiece
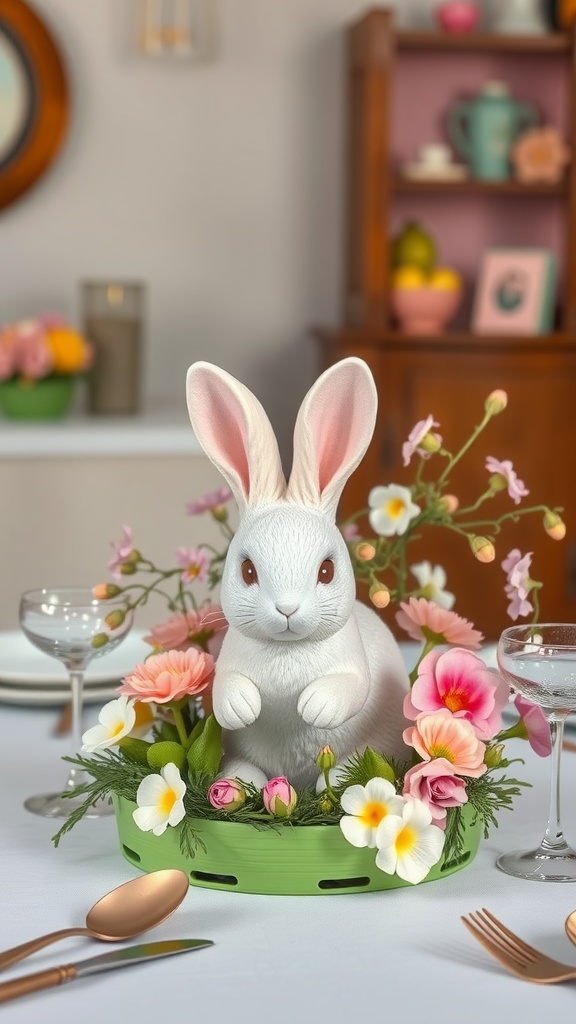
This bunny-themed centerpiece is a delightful addition to your spring table setting. The adorable white bunny sits proudly in a green basket, surrounded by a lovely assortment of flowers. Pink and yellow blossoms bring a burst of color, making it a perfect focal point for any gathering.
To create a similar centerpiece, gather a cute bunny figure and a selection of spring flowers. Use a colorful basket or tray to hold your arrangement. Place the bunny in the center and arrange the flowers around it. This simple design instantly brightens up your table and adds a festive touch.
As you set your table, consider using matching plates and utensils to complement the centerpiece. This will pull the whole look together and create a warm atmosphere for your guests. Everyone will appreciate the cheerful vibe that this bunny centerpiece brings!
Handmade Seed Bombs for Plant Lovers
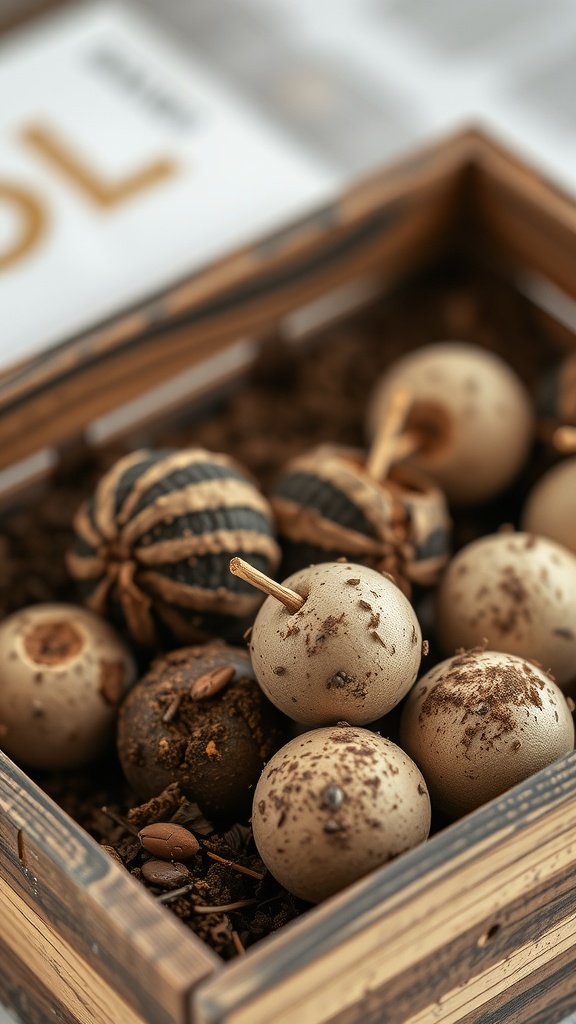
Spring is a fantastic time to get your hands dirty and bring some green into your life. Handmade seed bombs are a fun and simple way to do just that. These little balls are packed with seeds and soil, making it easy to plant flowers or veggies anywhere you like.
The image shows a beautiful arrangement of seed bombs nestled in a wooden box. Each bomb has a unique look, some with a smooth finish and others with a textured surface. This variety adds charm and character to your planting projects.
Creating seed bombs is easy. You’ll need some clay, compost, and your favorite seeds. Just mix the ingredients, roll them into balls, and let them dry. Once ready, you can toss them in your garden or give them as gifts to fellow plant enthusiasts. It’s a great way to spread joy and greenery during this vibrant season!
Colorful Flower Pot Decor

Spring is the perfect time to freshen up your space, and colorful flower pot decor is an easy way to do just that. Imagine a cheerful display of painted pots filled with vibrant flowers, just like the ones shown in the image.
Each pot has its own unique design, featuring bright colors and playful patterns. The blue pot with flowers and the red pot with a cute face add a fun touch to any garden or indoor setting. These pots not only hold plants but also serve as delightful decor pieces that can brighten any corner.
Creating your own colorful flower pots is simple! Grab some terracotta pots, acrylic paint, and brushes. You can let your imagination run wild with designs. Once painted, just add your favorite flowers. This DIY project is a fantastic way to express your creativity and welcome spring into your home.
DIY Butterfly Feeder
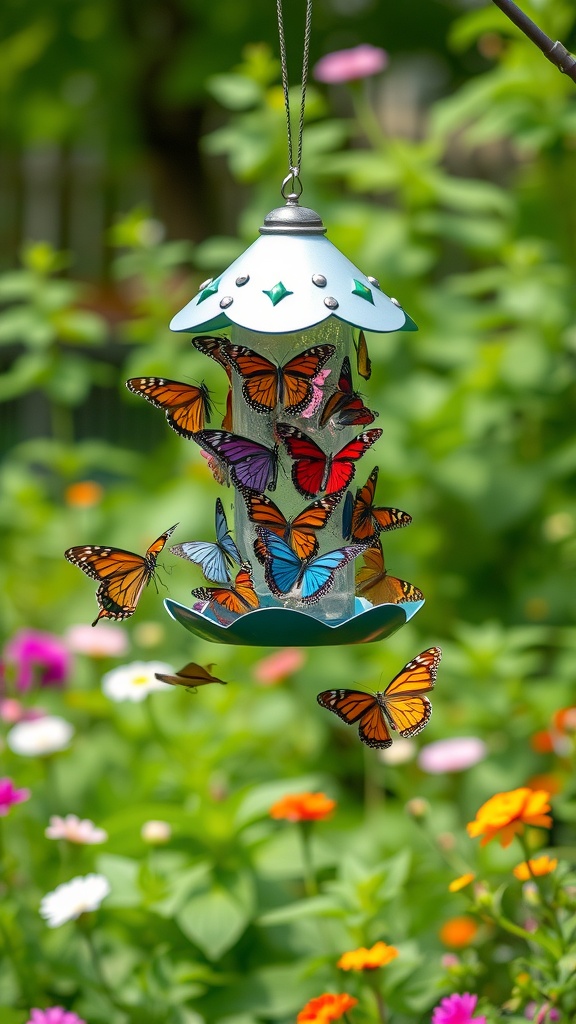
Creating a butterfly feeder is a fun and colorful way to attract butterflies to your garden this spring. The image shows a beautifully designed feeder, featuring vibrant colors and lovely butterfly patterns that make it visually appealing. Hanging amidst blooming flowers, this feeder invites butterflies to come and enjoy a sweet treat.
To make your own butterfly feeder, all you need are a few simple supplies. Start with a clean, shallow dish or a hummingbird feeder. Add a mixture of sugar water (1 part sugar to 4 parts water) and place it in your garden. You can also include slices of overripe fruit, like oranges or bananas, to draw them in even more.
Position your feeder in a sunny spot where butterflies are likely to visit. You’ll love watching these delicate creatures flutter around. Plus, it’s a great way to engage kids in nature and teach them about local wildlife!
Whimsical Painted Garden Stones
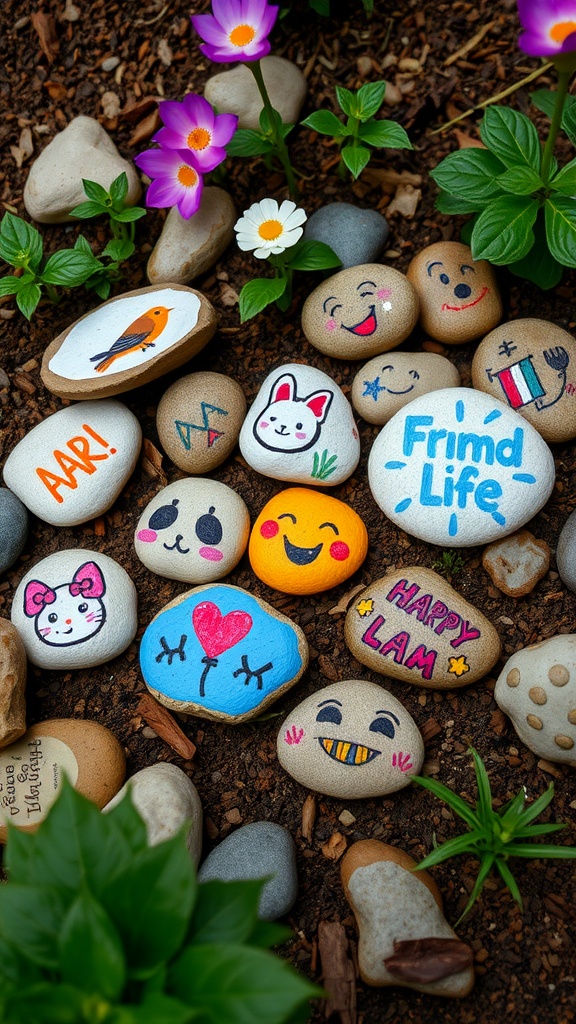
Sprucing up your garden can be a joyful experience, and painting garden stones is a fun way to add personality to your outdoor space. The image shows a delightful collection of stones, each adorned with cheerful designs and bright colors.
From smiling faces to cute animals, these painted rocks bring a lighthearted vibe to any garden. You’ll find a variety of expressions and characters, like a happy bird, a playful bunny, and even fun phrases like ‘Frind Life’ and ‘Happy Lam’.
Creating your own painted stones is simple. All you need are some smooth rocks, outdoor paint, and a bit of creativity. Gather your supplies, find a comfortable workspace, and let your imagination run wild!
Once your stones are dry, you can place them around your garden or even use them as fun markers for your plants. They not only brighten up the space but can also spark joy and conversation.
Nature-Inspired Wall Art
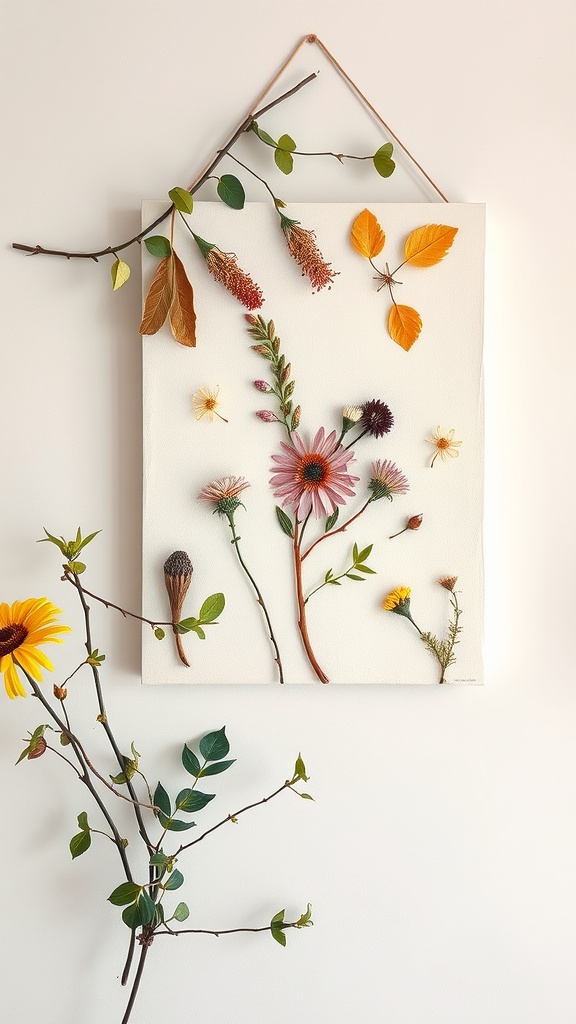
Spring brings a burst of colors and life, making it the perfect season for nature-inspired wall art. The image showcases a beautiful arrangement of dried flowers and leaves, elegantly placed on a canvas. This piece captures the essence of spring, highlighting the delicate details of each plant.
Creating your own nature-inspired art is simple and fun. Start by gathering flowers and leaves from your garden or a local park. Choose a canvas or thick paper as your base. Arrange the natural elements in a way that feels pleasing to you. You can use glue to secure them or simply press them into a frame.
This DIY project not only beautifies your space but also connects you with nature. Each piece tells a story, reminding you of the lovely moments spent outdoors. Hang your creation in a sunlit area to enjoy its charm throughout the season.
Painted Wooden Birdhouses
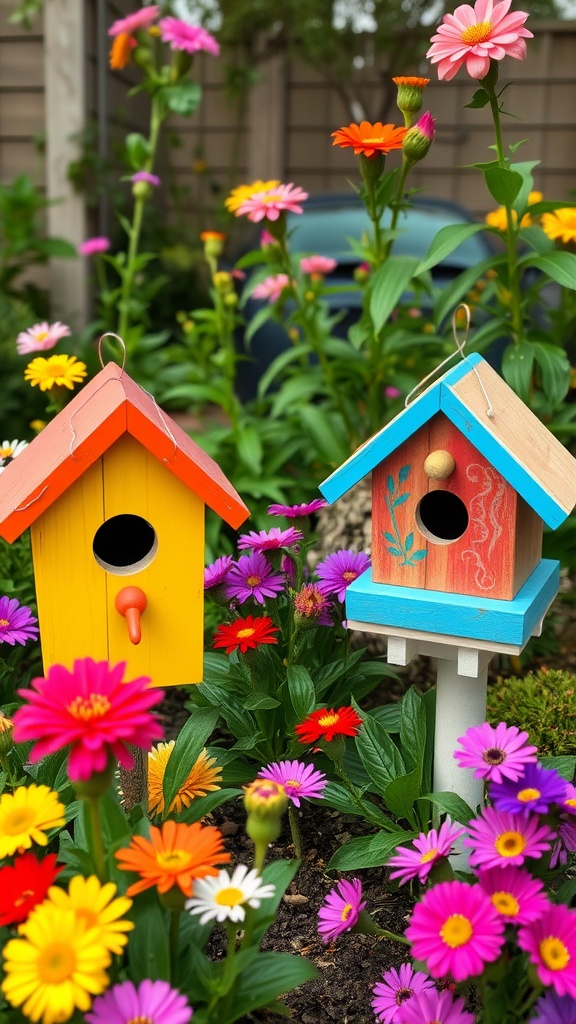
Spring is the perfect time to add some color to your garden, and painted wooden birdhouses can do just that. These charming little houses not only look great but also attract birds, bringing life and joy to your outdoor space.
The image shows two beautifully painted birdhouses. One is a bright yellow with a cheerful red roof, while the other features a soft blue design with colorful accents. They stand out against a vibrant backdrop of blooming flowers, creating a lively and inviting scene.
Making these birdhouses is an enjoyable project. Gather some wood, paint, and a few basic tools. Let your creativity flow as you decorate the houses with fun designs. Hang them in your garden and watch as birds come to make them their home. It’s a delightful way to celebrate the beauty of spring.
Spring-Themed Coasters
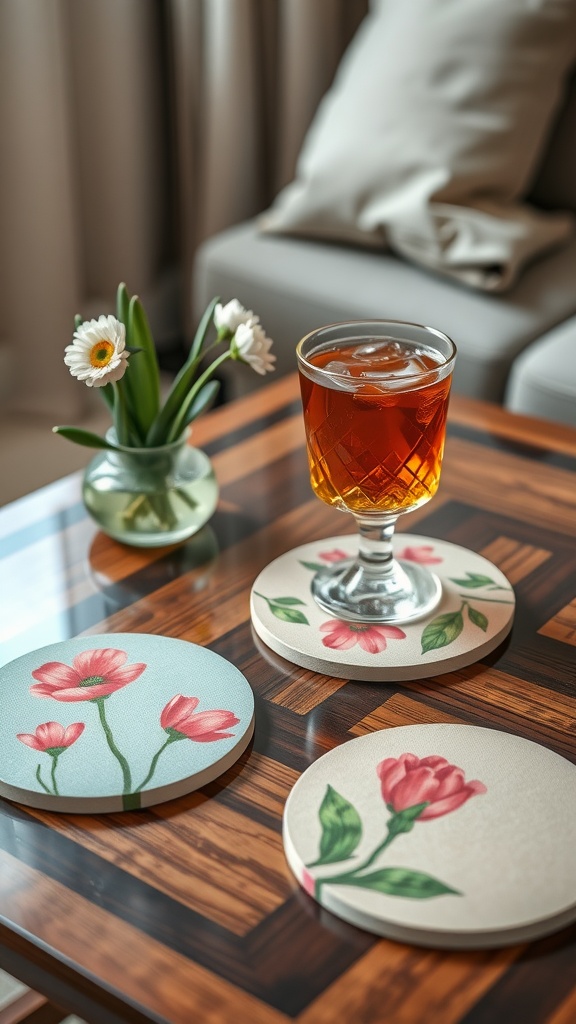
Spring-themed coasters are a delightful way to brighten up your home decor. They add a splash of color and charm to any table setting. In the image, you can see beautifully designed coasters featuring floral patterns, perfect for welcoming the spring season.
These coasters do more than just protect your surfaces. They also serve as a fun conversation starter. Each coaster showcases lovely flowers, enhancing the cozy vibe of the space. The drink on the table adds a refreshing touch, making it a perfect spot to relax.
Making your own spring-themed coasters can be a fun DIY project. You can use cork or wood as a base and paint them with your favorite flowers. This way, you create a personalized set that reflects your style. Plus, it’s a great way to add a handcrafted touch to your home!
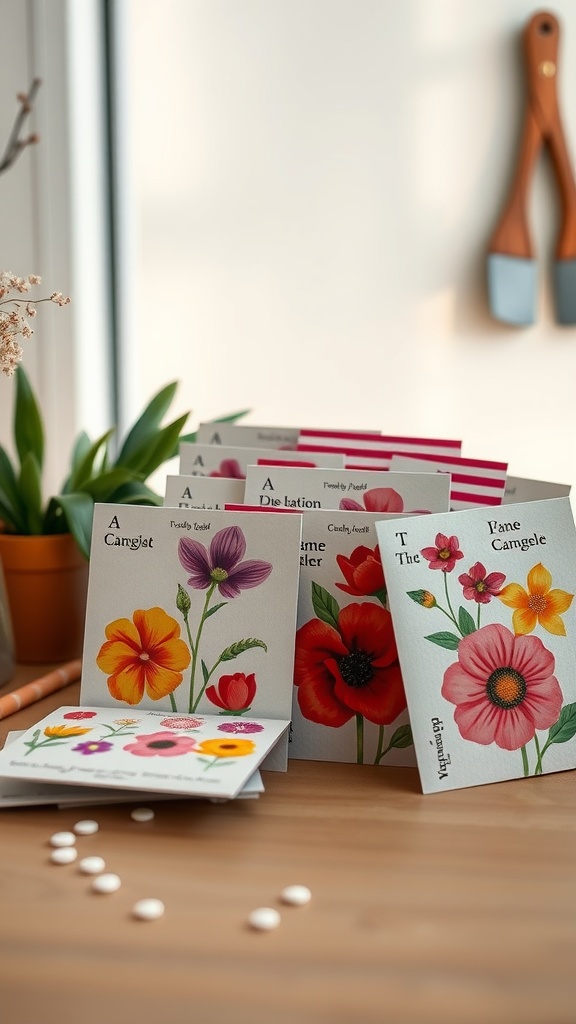
Flower Seed Paper Cards
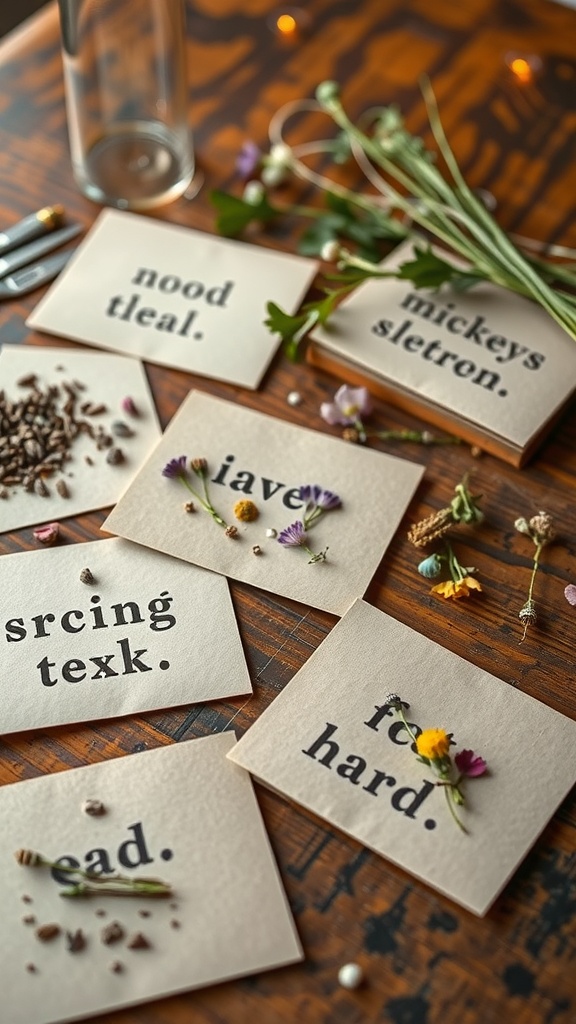
Creating flower seed paper cards is a fun and meaningful spring DIY project. These cards not only look beautiful but also serve a purpose. When recipients plant them, they’ll get a burst of flowers in their gardens or pots. It’s a unique way to send a message and spread some joy.
The image shows a lovely array of seed paper cards laid out on a wooden table, highlighting the rustic charm of this project. Each card has printed text and is adorned with tiny dried flowers and seeds, adding a natural touch. The scattered seeds and flowers around the cards create a casual and artistic vibe that inspires creativity.
To make these cards, gather some handmade paper embedded with wildflower seeds. Cut the paper into your desired sizes and shape. Use a simple stamp or handwritten text for personalization. Then, decorate with bits of dried flowers or seeds for a colorful touch. It’s a great way to use up scraps and get creative!
DIY Lavender Sachets
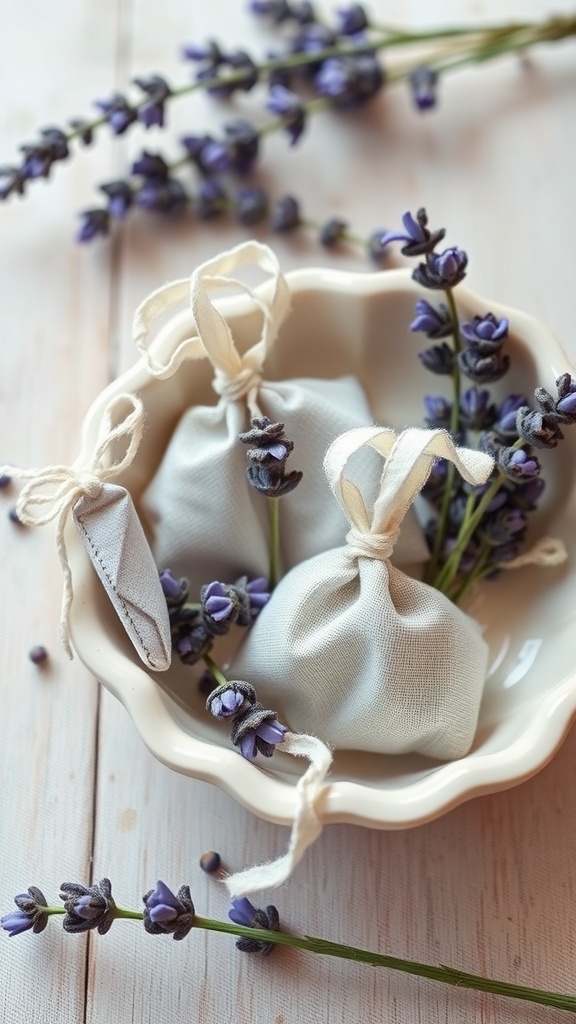
Spring brings a fresh energy, and what better way to welcome it than with DIY lavender sachets? These little bags not only smell delightful but also add a calming touch to your space.
The image showcases a few lovely sachets made from soft fabric, tied neatly with ribbons. They sit in a charming bowl surrounded by fresh lavender sprigs. The gentle colors and natural elements create a serene vibe.
To make your own lavender sachets, you’ll need some dried lavender, fabric (like muslin or cotton), and string. Simply cut your fabric into squares, fill them with lavender, and tie them up. Place them in drawers or hang them in closets to keep your clothes smelling fresh.
Decorative Mason Jar Herb Garden
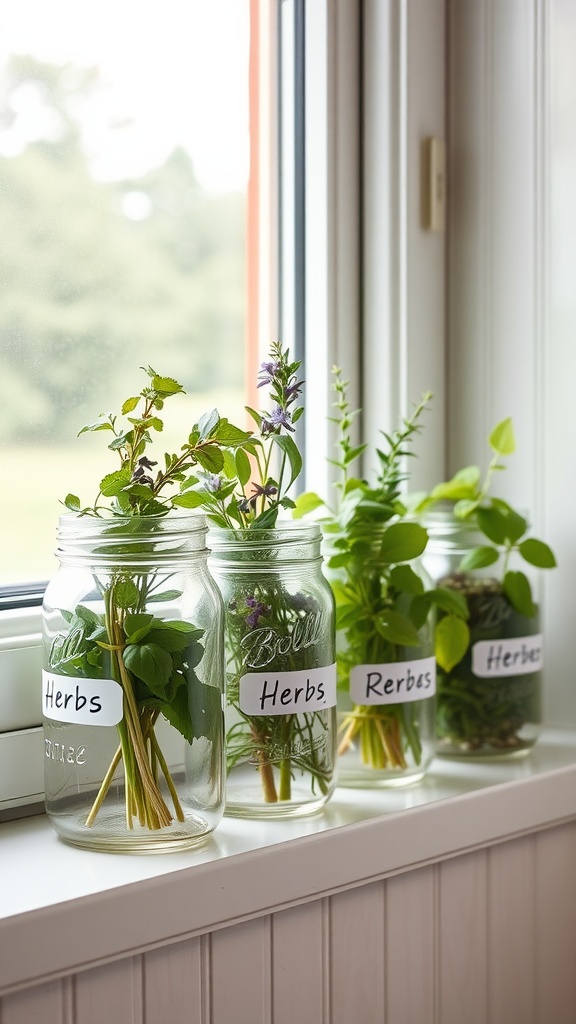
Create a charming herb garden right in your home with decorative mason jars. This easy DIY project can brighten up your kitchen and provide fresh herbs for cooking.
The image shows several mason jars filled with vibrant herbs, each labeled clearly. A window sill is the perfect spot, allowing sunlight to nourish the plants.
Start with herbs like basil, mint, or rosemary. All you need are some mason jars, potting soil, and your favorite herb seeds or small plants. Fill the jars with soil, plant the herbs, and water them lightly. Make sure they get enough sunlight for the best growth.
This herb garden not only looks great but is practical too. You can snip fresh herbs for your meals anytime. Plus, it’s a fun way to bring nature indoors!
Personalized Flower Seed Packets
Creating personalized flower seed packets is a lovely way to welcome spring. These packets can serve as charming gifts or party favors for any spring gathering. The image shows beautifully illustrated seed packets, each featuring bright and colorful flower designs.
These packets not only look great but also allow you to share the joy of planting. Choose your favorite flower seeds, like sunflowers or daisies, and package them in these delightful envelopes. You can even add a personal touch by writing a message or including planting instructions.
Making these seed packets is easy! Start by gathering plain seed packets or making your own using colorful paper. Decorate them with fun drawings, stickers, or washi tape for added flair. You can also label each packet with the flower type and a special note. It’s a fun, simple project that brings smiles all around!
Spring-Themed Photo Frame
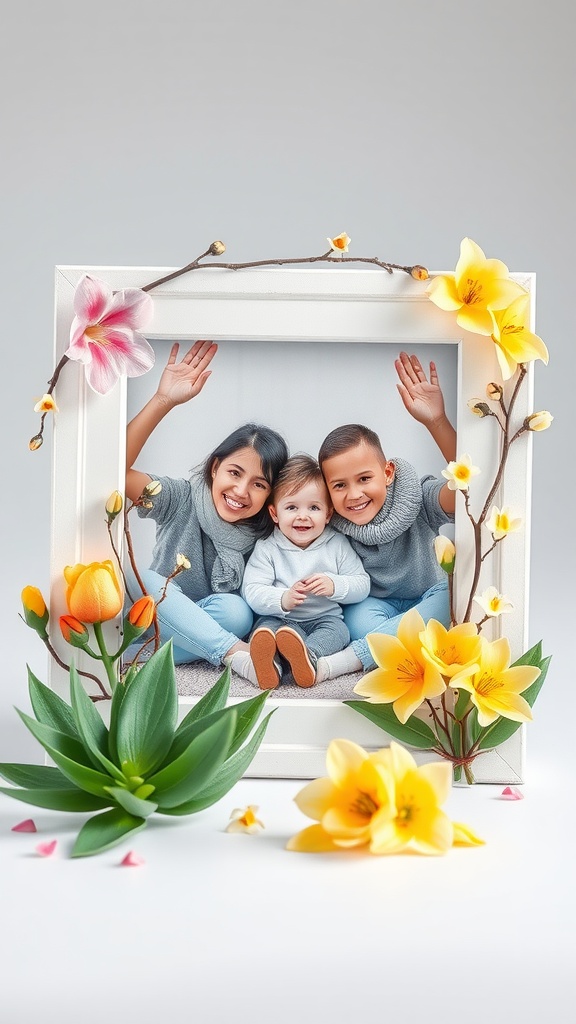
Create a delightful spring-themed photo frame that brings a touch of nature indoors. This project is perfect for displaying your favorite spring memories. Use a simple white frame and decorate it with colorful flowers. The vibrant blooms symbolize renewal and warmth, making your photo truly stand out.
Gather artificial flowers in shades of yellow, pink, and green. Attach them using a hot glue gun for a secure fit. You can also add some leafy branches for a more natural look. This frame not only beautifies your space but also serves as a heartfelt reminder of joyful moments spent outside in the spring.
Choose a happy family photo and place it inside the frame. It will capture the essence of spring, making your décor cheerful and inviting. This DIY project is a fun way to engage with family or friends, encouraging creativity while celebrating the beauty of the season.
Colorful Tie-Dye Tablecloth
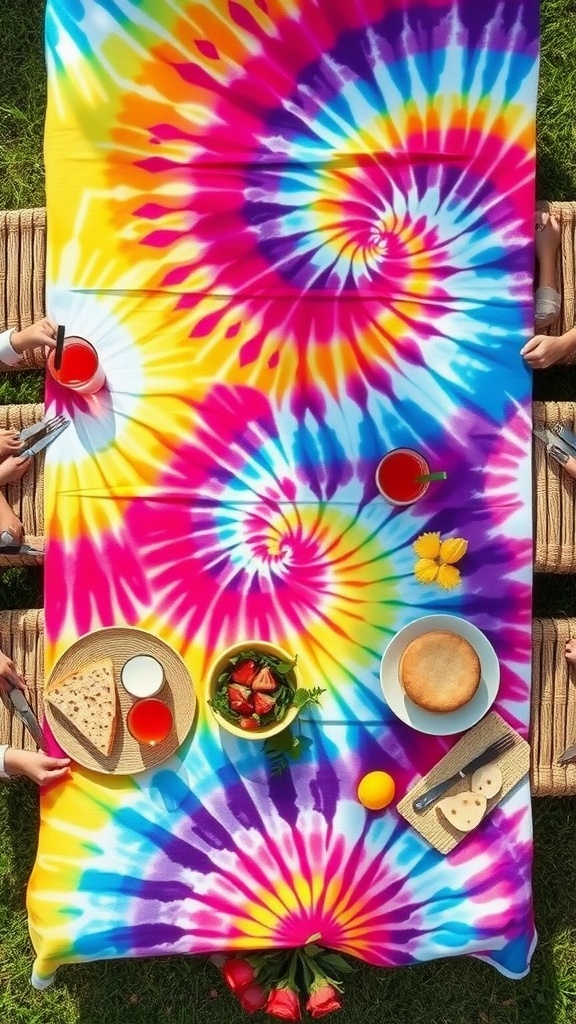
This colorful tie-dye tablecloth brings a lively touch to any spring gathering. The bright swirls of yellow, pink, blue, and purple create an eye-catching backdrop for your outdoor meals.
Imagine setting up a picnic or hosting a brunch with this vibrant design. It not only adds color but also sets a fun, relaxed mood. The table is adorned with delicious food items like sandwiches, fresh strawberries, and a cake, making it look even more inviting.
This DIY project is simple and a great way to showcase your creativity. You can easily make your own tie-dye tablecloth at home. Just grab a plain white tablecloth, some fabric dye, and get started with your favorite patterns!
Upcycled Tin Can Planters
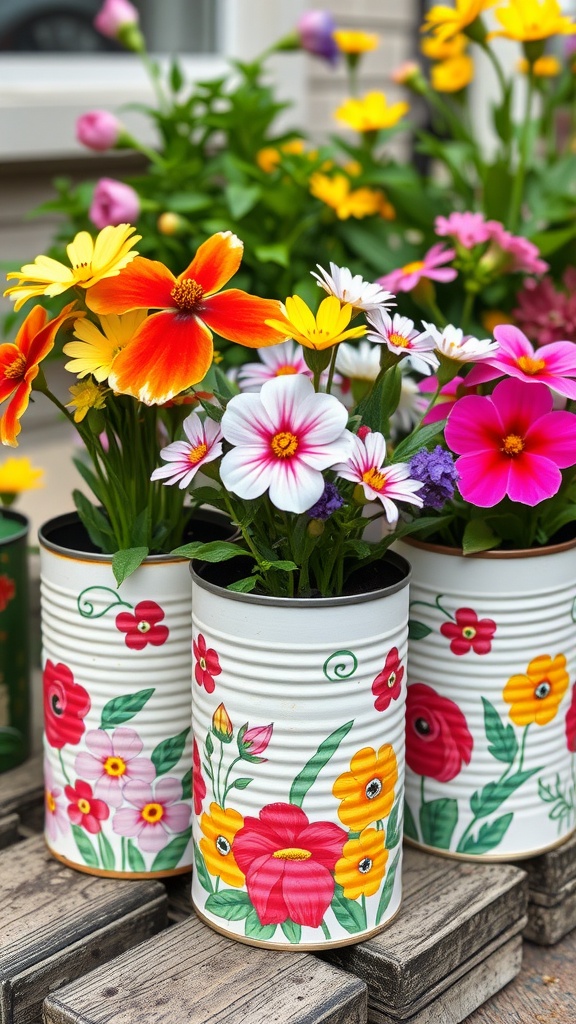
Upcycled tin can planters are a fun and eco-friendly way to add a splash of color to your home or garden. In the image, you can see vibrant, painted cans brimming with cheerful flowers. Each planter showcases unique designs that highlight beautiful blooms, making them a delightful addition to any space.
To create your own tin can planters, start by cleaning out empty cans. Remove labels and give them a good rinse. Next, paint or decorate them however you like—floral patterns, bright colors, or even a simple splash of paint can make a difference. Once your cans are dry, add some rocks at the bottom for drainage, then fill them with potting soil and your favorite flowers.
These planters are not just pretty; they also show how easy it is to repurpose everyday items. Plus, they make great gifts! Imagine brightening someone’s day with a handmade planter filled with fresh flowers. So grab those cans and get started!
Homemade Bird Feeders
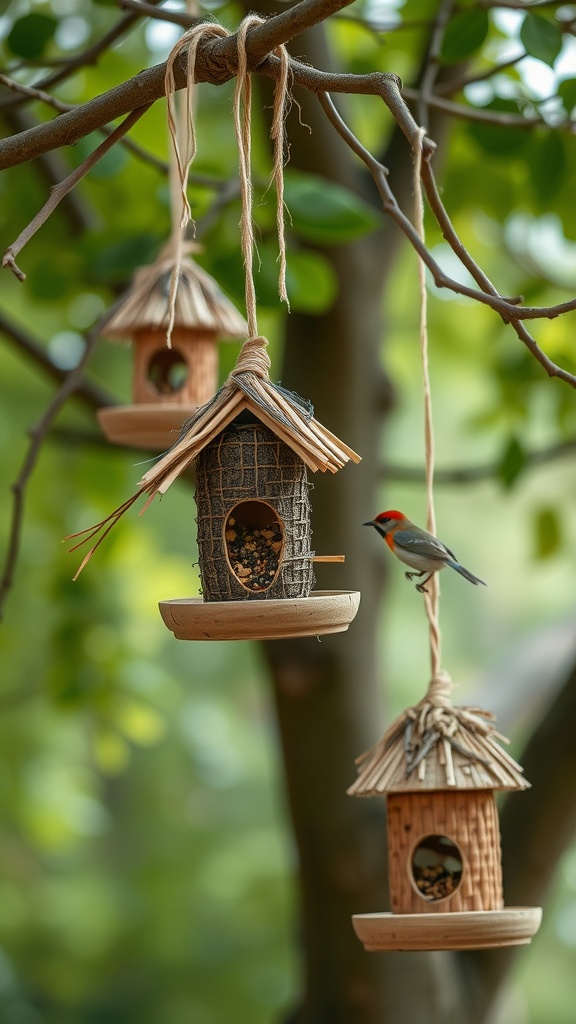
Making homemade bird feeders is a fantastic way to welcome nature into your backyard. The image shows charming little birdhouses hanging from tree branches. They are crafted with care, featuring natural materials that make them blend beautifully with the surroundings.
These feeders not only serve a practical purpose but also add a touch of charm to your outdoor space. You can fill them with seeds to attract various birds. Watching them flutter and feast is a delightful experience.
Creating your own bird feeders can be a fun project. You can use materials like wood, pine cones, or even recycled items. Just remember to hang them in a safe spot away from predators. This simple DIY project is perfect for spring, allowing you to enjoy the fresh air and the cheerful sounds of birds chirping.